# User Interface (old)
IMPORTANT ⚠️
Our default User Interface is changing! 🤩 See our new version here, and add your feedback on the forum (opens new window)!
Most of our Connectors look the same, despite working inside of different applications. Our shared user interface is currently used inside:
- McNeel Rhinoceros
- Autodesk Revit
- Autodesk Civil3D
- Autodesk AutoCAD
Other Connectors work slightly differently depending on which software they're used in (e.g. Grasshopper and Dynamo use a node-based environment).
Let's go on a quick graphical tour of the shared user interface to get you familiar with using Speckle.
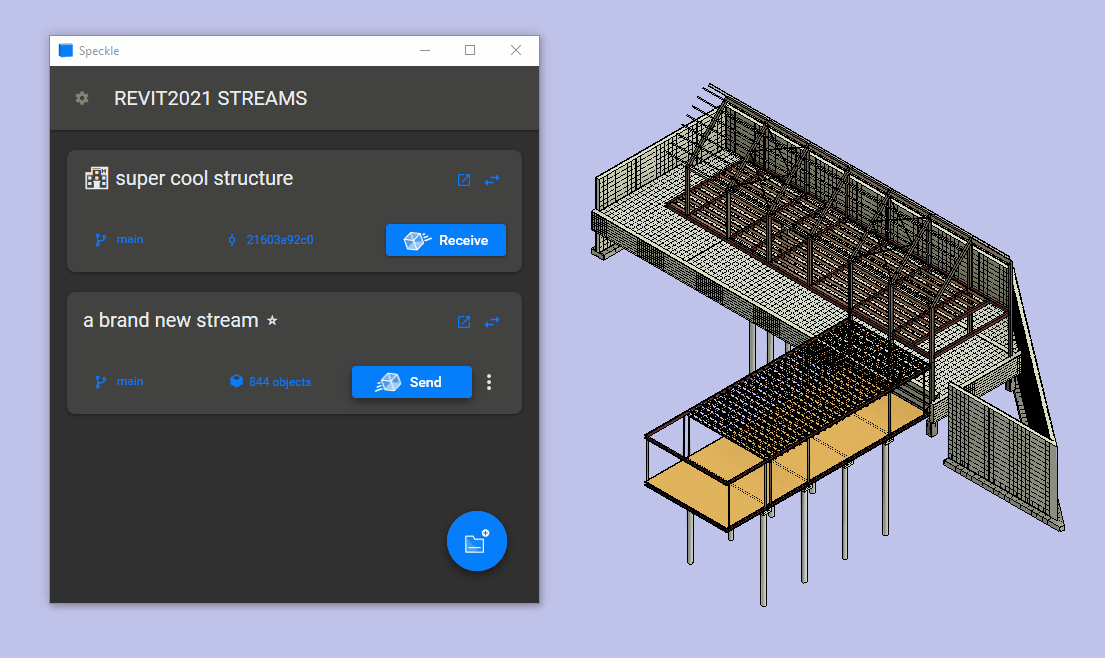
# Connector Home Page
When launching a Connector in your host application (e.g. Rhino), you'll be presented with our home page, which contains a list of all the streams loaded into whichever file you're in. Each stream displays its name, alongside a host of buttons.
# Sender or Receiver?
When viewed in the Connector, a stream can be in either Sender or Receiver mode, which determines whether you're sending data to your Speckle server or receiving data from it. The easiest way to tell which mode it's in is to check whether the stream has a Send or a Receive button (you can toggle between these two states using the switch button.)

Your streams have several buttons along the bottom, which can vary depending on whether they are in Sender or Receiver mode. The leftmost button lets you create and switch between the stream's branches (if you have any).
The center button changes, depending on the stream's mode:
- On a stream in Receiver mode, the center button allows you to choose which commit you would like to receive.
- On a stream in Sender mode, the center button lets you select which objects in your model should be sent to this stream.
The rightmost button is the Send/Receive button, for pushing/pulling data to (or from) this stream. This is where the Speckle magic happens!
# Selecting a Stream
The first step of using Speckle is getting your hands on a stream. The Connector lets you create streams from scratch and/or retrieve streams that already exist.
Click the big blue '+' button to get started; it opens a pop up window where you can select a recently-used stream or search for an existing stream. Alternatively, you can start typing to create and name a new stream.
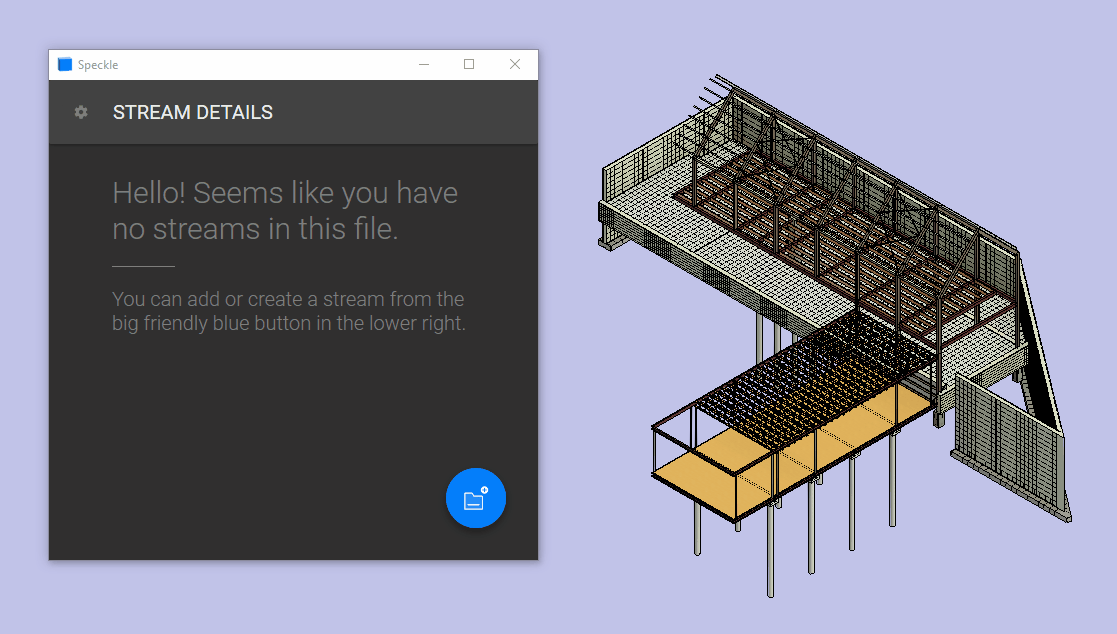
# Stream Details Page
Either way, once you've got a stream, you can click on its name to go to the stream details page. Here you can edit the stream's name or description, manage collaborators, or remove it from the connector.

TIP
Please note, removing a stream from the Connector will just disassociate it from the file you're in. In order to delete a stream, you'll need to access it via the Speckle Web App (i.e. in your browser).
# Sending Data
In order to send data to your stream, you'll need to tell Speckle which elements should be sent. Is it:
- Just the items you've selected?
- A specific layer(s) in Rhino?
- A specific Revit workset?
The Connectors are built to help you select objects in ways that make the most sense for the application you're using.
Please Note: The examples we're showing below are a bit Revit-specific.
# Adding Objects
The simplest way to add objects to a stream is by selecting what you want in the file, clicking the centre selection button, and choosing the "Set Selection" option. However, you can also get more granular control of your object selection by diving into the filter options.

By clicking on (1) an additional view will show, wich will let you filter the model elements with custom filters. This view is different in every connector and is based on top of what the host application can offer in terms of selection. Here's an example of the options available in Revit:

By clicking on any of the (2) buttons instead, the elements are added/removed based on the current selection in the model.
# Sending Data
When you're ready to send your data to your stream, hit that big blue "Send" button!
Pro tip: If you want to add a commit message, click the three dots menu next to the send button first.
Here's a recap in the form of a snappy gif:
# Receiving Data
For streams in Receiver mode, the central button lets you control which commit's data you want to receive. You can either choose to stay up to date with the latest commit or stick to a specific commit. Just press the Commit button and select your desired option.
If you choose to stay on the "latest" commit, you won't be updated automatically. You'll see a notification that things have changed and you will be prompted to click the "Receive" button to sync up.

Similar to sending, just hit the big blue "Receive" button to start pulling in data. If you've never received the data before, the connector will fetch all the objects from your Speckle server. If you have already received some of the objects before, the process will be quicker as the objects will be fetched from your local cache.
← User Interface Revit →